With the Qontext n8n integration, you can:
  • Build AI workflows that dynamically retrieve context from Qontext at runtime
  • Create custom ingestion pipelines that send data from internal or third-party systems into Qontext
The verified Qontext node is available on both n8n Cloud and self-hosted n8n instances.

Installation

1

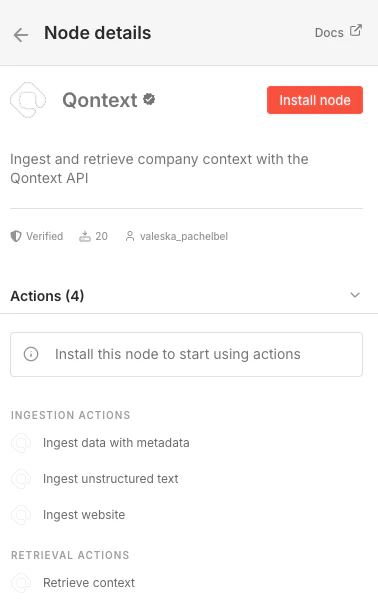
Create a new workflow

In your n8n dashboard, create a new workflow, select a trigger, and click + to open the Nodes panel.
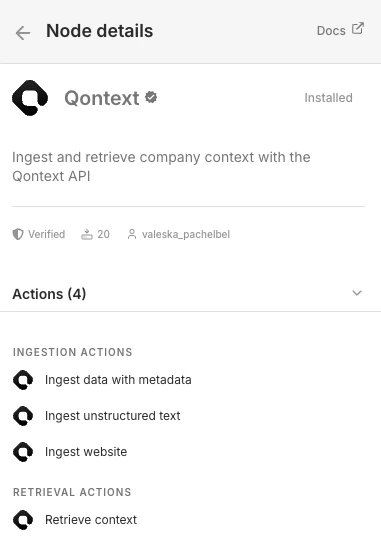
2

Search for Qontext

Type Qontext in the search bar and select the node from the results.
3

Install the node

Click Install node in the node details panel.Qontext node details with Install node button
4

Choose an action

Once installed, select the action that fits your workflow, either context ingestion or retrieval.Qontext node installed with available actions
5

Set up your credentials

Create a new credential and enter your Qontext API key. You can create an API key in the Qontext platform under Context Access.Qontext credentials setup in n8n

Using Qontext in n8n

Once you have installed the Qontext node and connected your credentials, you can reuse it in any scenario to ingest or retrieve context. See the API Reference for details on ingestion and retrieval endpoints.

Need help?

If you need assistance setting up the n8n integration, reach out to support@qontext.ai.